


 Français
 Español
 العربية
 한국어
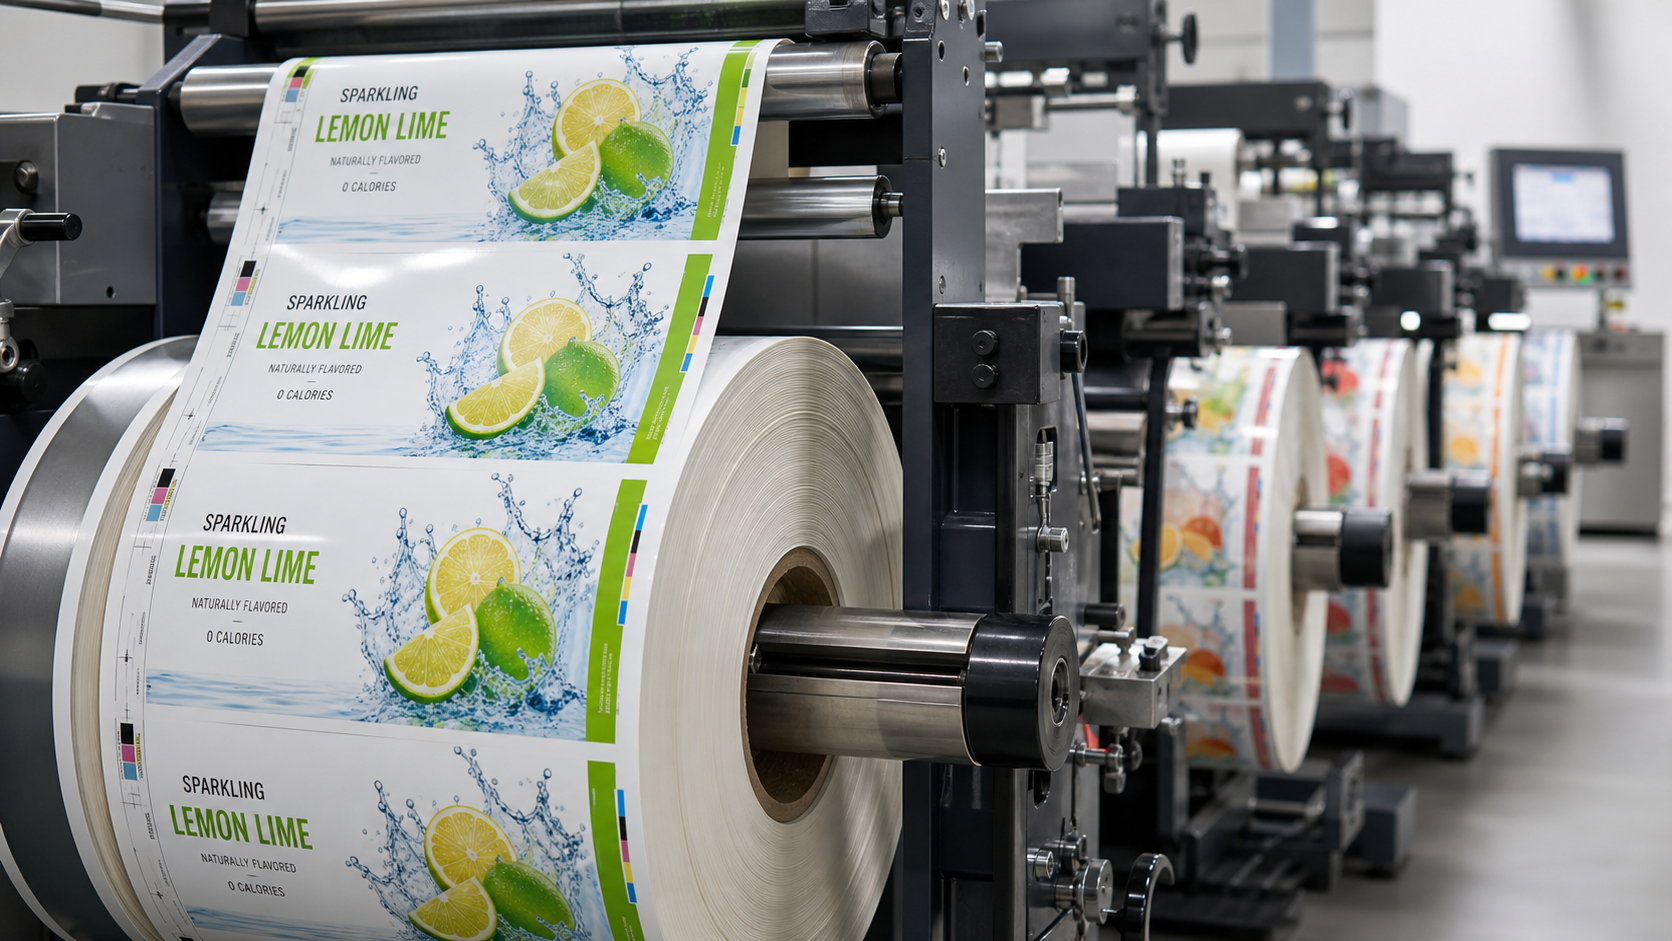
한국어Beverage label printing is the process of turning approved artwork into printed labels on the chosen substrate, using a defined print method, color separations and (when applicable) printing plates. Getting the files right upfront and aligning on plates and proofing are the biggest levers to protect timing and print quality.
This guide focuses on the printing workflow: artwork files, color separations, plates, proofing and lead time drivers. It does not cover the legal content or claims on the label. For regulatory text and layout checks, see the U.S. food label checklist. The sections below help beverage brands, OEM/ODM buyers and design teams prepare print-ready labels that run smoothly at the press.
What does beverage label printing involve?
Beverage label printing typically includes confirming the dieline and substrate, preflighting the artwork, separating colors, preparing printing plates if required, proofing, scheduling the press run, and finishing (varnish, lamination, slitting or sheet cutting) before delivery. Each step depends on the previous, so clear approvals and stable files are essential.
In practice, your printer or manufacturing partner will ask for final artwork files built on the exact dieline, with bleed and safe zones respected, colors declared as process or spot, and any special layers (white ink, varnish, foil mask) clearly named. After prepress checks and proof approval, plate making (for flexo or gravure) or direct-to-press (for digital) proceeds, followed by the print run and QC.
Which beverage label formats are common?
Different formats favor different substrates and print processes. The format you choose has direct implications for artwork build, plates and timing.
| Label format | Typical print process | Substrate | Artwork priorities | Positioning & notes |
|---|---|---|---|---|
| Pressure-sensitive label (PSL) | Flexo, digital, offset (paper) | Paper or film on rolls | Vector type, clear layers for spot colors/varnish | Most common for bottles & cans; efficient for many SKUs |
| Shrink sleeve | Flexo or gravure, some digital options | Heat-shrink film (PETG, PVC, OPS, etc.) | Distortion mapping, seam allowance, white ink layers | 360° coverage, tamper-evident options, high shelf impact |
| Wrap-around OPP | Gravure or flexo | Oriented polypropylene film | Registration to seam; thin film handling | Often used on high-speed lines for water & CSD |
| Paper neck collar / secondary | Offset or digital | Paperboard | Diecut accuracy, fold lines, finish | Promotional or seasonal messaging |
What artwork files do printers need?
Printers need production-ready files that match the approved dieline and print method. Supplying files that follow standard prepress conventions reduces back-and-forth and protects timing.
- Use a locked dieline from the printer or applicator supplier, including bleed, safe zone and all cut, fold and perforation lines on a non-printing layer.
- Build vector elements in a professional layout application; outline or embed all fonts, and package any linked assets.
- Keep raster images at print-quality resolution and in the correct color mode for the process.
- Declare colors as process builds or named spot colors; avoid unintentional RGB, and remove unused swatches.
- Name special layers clearly (for example: White Ink, Varnish, Cold Foil Mask) and keep them as 100% spot plates.
- Set overprint/trapping intentionally to avoid knockout halos; coordinate with your prepress team on trapping policy.
- Place barcodes as vector on a single, solid color; ensure quiet zones around the code per the barcode spec.
- Include clear file versioning and a PDF for review that matches the native file exactly.
Before releasing artwork, walk through a short checklist: correct dieline version, substrate noted, unwind direction, print method, winding/core spec, finish (matte or gloss), and any application window for lot coding. This ensures the label aligns not only with printing but also with application on the filling line.
Shrink sleeve artwork: what changes in design and prepress?
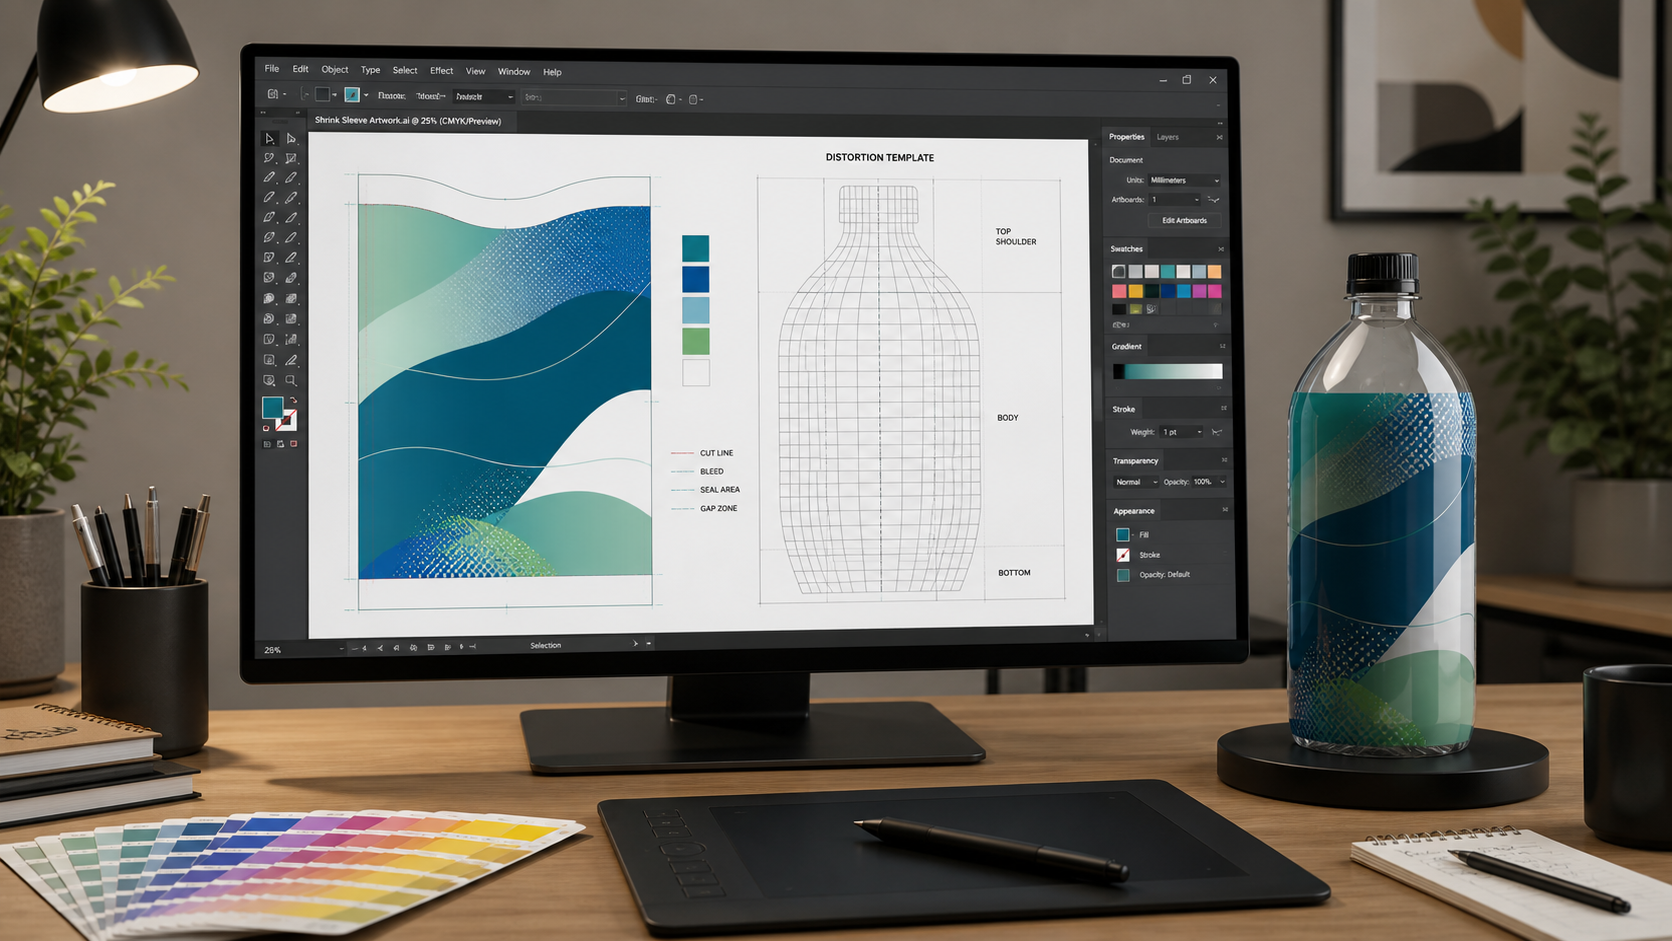
Shrink sleeve artwork must account for film shrink and the container’s 3D shape. The design is laid out flat but will shrink non-uniformly around curves and shoulders, so the file requires distortion compensation and careful layer handling.
- Distortion mapping: Work from a distortion template supplied for your exact container and film. Expect shape-specific adjustments around shoulders and high-curvature areas.
- Seam & overlap: Keep critical text and logos away from the vertical seam. Provide adequate overlap per the sleeve converter’s requirements.
- White ink strategy: On clear films, a white underlayer defines opacity; control it by object to create translucent or clear “windows.”
- Perforations & tamper bands: Mark tear tabs and perforation paths on a non-print layer so they do not interfere with artwork.
- Registration marks & eye marks: Leave space for converter-required marks outside the live area.
- Mockups & proofs: Review 3D mockups and physical lay-flat samples when available to validate distortion and alignment before committing the full run.
Color management and proofs for consistent brand hues
Color consistency starts with clear targets and manageable palettes. Decide early which hues will print as process builds and which will remain as spot colors. When substrates vary (paper, clear film, metallized film), color appearance can shift; align with your printer on achievable matches for each material.
Workflows commonly include a soft or hard proof to confirm layout, then a color-targeted proof or on-press sample for critical hues and finishes. For substrates like clear film or metallized stock, request proofs that simulate the actual material with the intended white ink or lamination, so the final appearance is predictable.
What are label print plates in beverage projects?
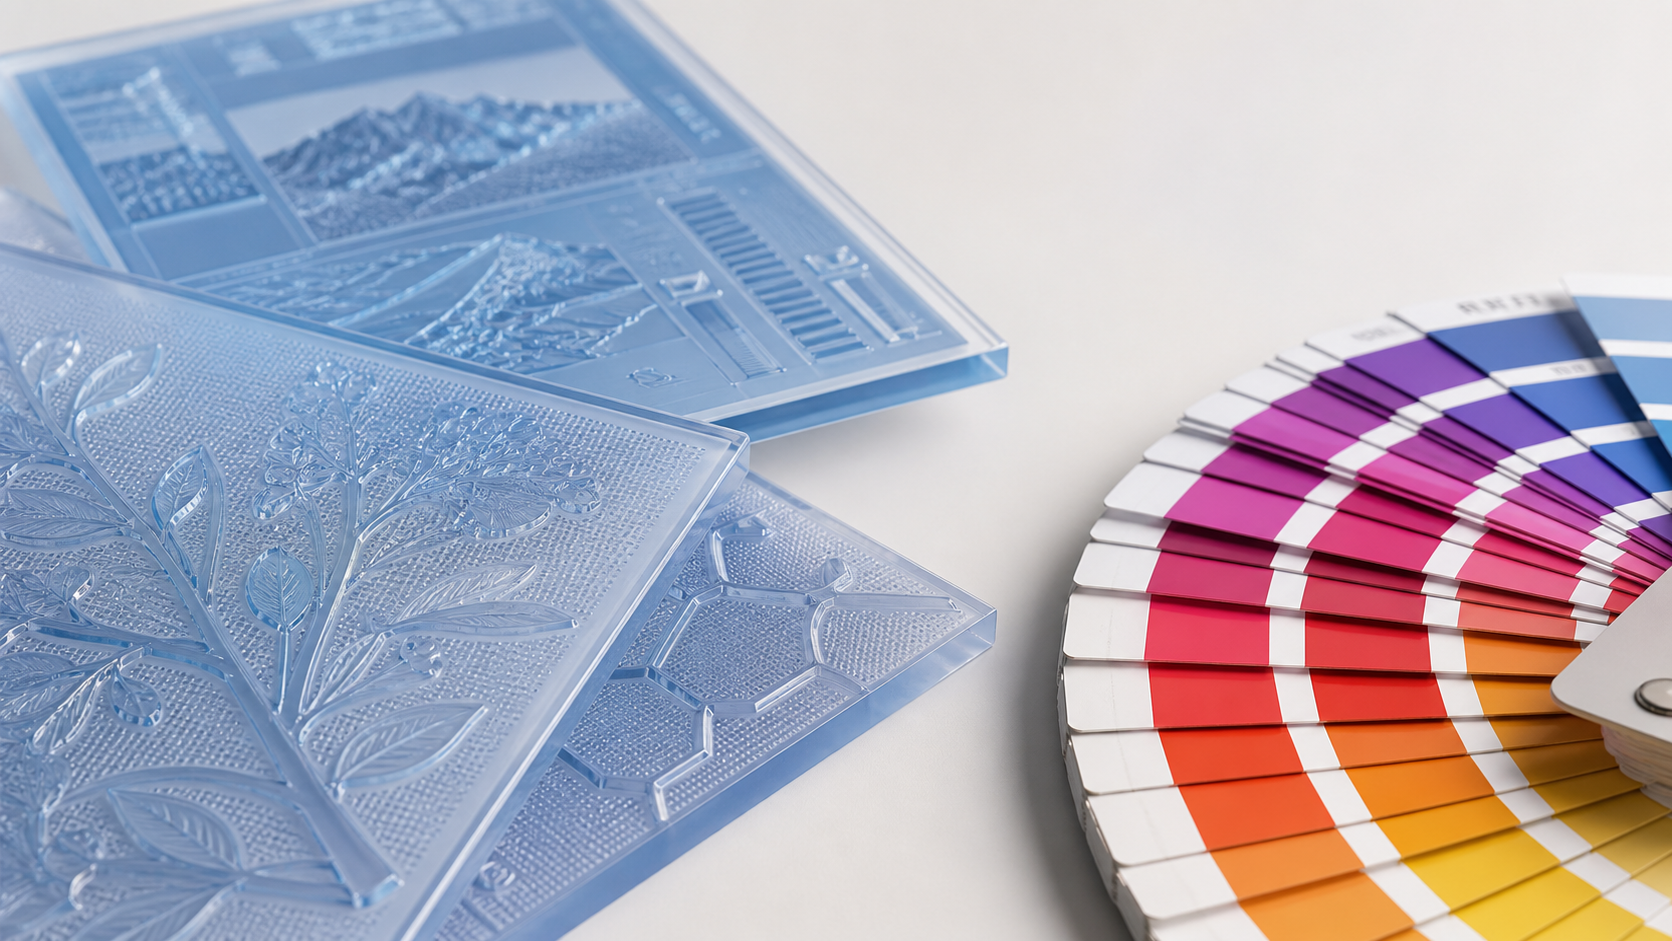
Label print plates transfer each color and special layer to the substrate during press. In beverage work, flexographic photopolymer plates are widely used for pressure-sensitive labels and sleeves; gravure uses engraved cylinders for very large runs; offset plates are used primarily for paper labels. Each distinct ink station—process colors, spot colors, white ink, varnishes and foil masks—generally requires its own plate or cylinder.
Plates affect three important aspects of a job: prepress time, cost structure, and flexibility. Plate making adds a dedicated step before printing begins. Plates or cylinders represent a fixed investment that is amortized across the run; this favors longer runs for plate-based processes. Finally, any change to artwork that touches a plated element (for example, a new spot color or revised varnish mask) may require new plates.
Digital printing does not use physical plates, which can shorten changeovers and favors shorter runs or multi-SKU projects. However, some special effects and varnishes still require additional finishing steps that behave similarly to a plated operation.
Digital vs. flexo vs. gravure: which to choose?
Each process has strengths. The right choice depends on run length, number of SKUs, substrate, required finishes and timeline. Use the matrix below as a directional guide and confirm specifics with your printer.
| Process | Plates | Best for | Decoration options | Lead time drivers | Changeover agility |
|---|---|---|---|---|---|
| Digital | No plates | Short runs, many SKUs, rapid iterations | Good for CMYK; special effects via post-finishing | Proof approval, press availability, finishing steps | High; quick artwork changes |
| Flexo | Photopolymer plates | Small to large runs on paper or film | Process + spot, white on clear, varnish, cold foil | Plate making, substrate readiness, color approvals | Moderate; plate-dependent |
| Gravure | Engraved cylinders | Very large, consistent runs (e.g., wrap-around) | Excellent solids and consistency at scale | Cylinder making and scheduling | Lower; changes are complex |
| Offset | Metal plates | Paper labels, cartons, collars | Sharp type and images on paper | Plate making, paper stock, finishing | Moderate |
What drives lead time — and how to plan it?
Label lead time is a chain of dependent tasks. If artwork is late or changes repeatedly, the schedule slides. Conversely, when files are stable and approvals are clear, printers can reserve press time with confidence.
- Artwork readiness: Final dieline, correct layers, declared colors and packaged assets prevent prepress delays.
- Approvals: Consolidated feedback and a single approval path avoid cycles that can push the press slot.
- Plate or cylinder making: Plate-based processes require extra steps before a press run can begin.
- Substrate & consumables: Specialty films, adhesives, varnishes or foils may need procurement time.
- Proofing: Color-targeted or substrate-simulated proofs add confidence but require review time.
- Printer capacity: Press schedules are planned ahead; locking a slot requires approved files.
- Finishing & converting: Lamination, diecutting, slitting and labeling to cores must be sequenced.
- Application fit: Labels must match the applicator’s unwind, core and roll count to avoid rework at the line.
- Logistics: Shipping method, labeling of cartons and documentation also influence the critical path.
How to reduce risk and avoid reprints
Getting print right the first time saves budget and protects launch dates. The following practices help prevent avoidable changes and rework.
- Lock the dieline early: Confirm bottle/can geometry, sleeve coverage and any cutouts with the applicator before final design.
- Align on colors: Decide which hues are spot colors versus process builds; agree on achievable targets for the chosen substrate.
- Standardize layers: Keep white ink, varnish and foil masks on dedicated spot-color layers with clear names.
- Package assets: Supply native files with linked images, plus a matching production PDF for review.
- Control revisions: Batch change requests and designate a single approver to avoid conflicting edits.
- Barcode readiness: Place high-contrast vector barcodes with required quiet zones and verify scannability in prepress.
- Press checks when critical: For complex effects or high-visibility launches, arrange appropriate proofing or a controlled first-off review.
- Coordinate with manufacturing: Match roll specs (core, outer diameter, labels per roll, unwind direction) to the labeler on the filling line.
Information for OEM/ODM buyers
In OEM or ODM beverage projects, label printing sits on the same critical path as formulation approval, packaging sourcing and line trials. Confirm label format, substrate and print process during the product brief so the manufacturer can align converters, reserve press time and plan application trials.
If you are structuring the project scope, align early with your partner on who owns the dieline, white ink strategy (for clear film), and color matching across multiple substrates. For broader production context, see the OEM beverage manufacturing process and ODM beverage development services.
From artwork to press: a clear approval flow
A predictable sequence keeps projects moving even when multiple SKUs are involved. A typical flow looks like this:
- Dieline & spec confirmation: Container, substrate, unwind, core, finish and application constraints agreed.
- Preflight: Printer checks file integrity, layers, colors, overprints, barcode placement and bleed.
- Proof: Layout proof (soft/hard) for content placement; color-targeted proof or material-simulated sample when needed.
- Plates: For flexo/gravure/offset, plate or cylinder making proceeds after proof approval.
- Press run & QC: Print, finish, slit or sheet; first-off checked to the approved proof; results documented.
- Packing & shipment: Rolls labeled to spec with orientation, lot references and carton labeling aligned to receiving.
Frequently asked questions about beverage label printing
Can existing plates be reused for a rerun?
Yes—if the design and ink sequence remain unchanged and the plates or cylinders have been stored in good condition, printers can often reuse them. If you alter a plated element (for example a new spot color or revised varnish area), new tooling may be required.
Do we need vector logos and type?
Vector assets are strongly preferred for sharp edges and scalable output. Supply outlined type and vector logos, and keep raster images only where photography or textures are needed at print-quality resolution.
How do metallic or iridescent effects work without hot foil?
Special inks, varnishes or metallized films can create reflective or pearlescent looks. Discuss the target effect with your printer so they propose a compatible substrate and finishing route—some effects may require a dedicated mask layer similar to a plated operation.
What is the difference between soft proofs and press proofs?
Soft proofs confirm layout and content on screen; hard or color-targeted proofs simulate print appearance more closely. Press proofs or first-off checks are tied to the actual process, inks and substrate and are often used for critical color or finish validation.
When is digital printing better than flexo?
Digital is well suited to shorter runs, frequent artwork changes or multi-SKU campaigns, particularly when timeline flexibility matters. Flexo becomes efficient for stable designs, added special layers and broader run sizes.
Conclusion and next steps
Beverage label printing succeeds when artwork files, plates and proofs are aligned to the chosen format and substrate. Stable dielines, clear color decisions and well-named special layers minimize risk. Plate-based processes reward early approvals; digital favors agility across SKUs.
Keep label content compliance separate from print mechanics, and validate market-specific requirements before finalizing files. For regulatory layout considerations, review the U.S. food label checklist. If your project runs through a manufacturing partner, lock label specifications early within the broader schedule of formulation, packaging and line trials, and consider the OEM beverage manufacturing process and ODM beverage development services to align timelines. With the right preparation, beverage label printing can move from artwork to shelf with fewer surprises.